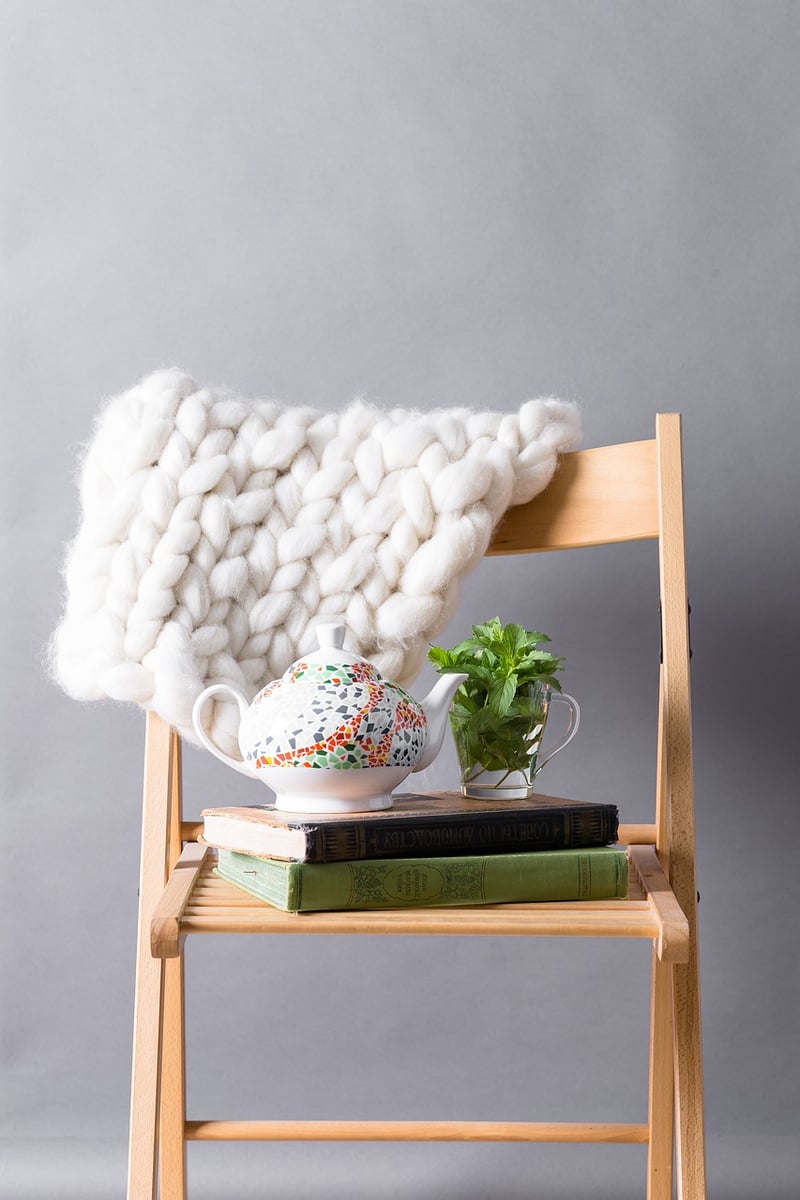
DIY chair makeover
Revamp Old Furniture: DIY Chair Makeover

Do you have old furniture lying around that could use a fresh new look? One of the easiest ways to breathe new life into old furniture is by giving it a makeover. In this article, we will focus on revamping an old chair with some simple do-it-yourself (DIY) techniques.
Materials Needed:
- Sandpaper
- Primer
- Paint
- Paintbrushes
- Fabric for upholstery (optional)
- Staple gun (optional)
Steps to Revamp Your Chair:
1. Sanding:
Start by sanding the chair to remove any existing finish and create a smooth surface for painting. Make sure to sand both the wood and any metal components carefully.
2. Priming:
Apply a coat of primer to the chair to help the paint adhere better and ensure a more even finish. Let the primer dry completely before moving on to the next step.
3. Painting:
Choose a paint color that suits your style and the chair's design. Apply multiple thin coats of paint, allowing each coat to dry before adding the next one. This will help prevent drips and ensure a professional-looking finish.
4. Upholstery (Optional):
If your chair has a cushion or fabric seat that needs updating, consider reupholstering it. Remove the old fabric, cut a new piece to size, and use a staple gun to attach it securely to the seat base.

Tips and Tricks:
- Experiment with different paint finishes like matte, glossy, or distressed for a unique look.
- Use painter's tape to create clean lines and patterns while painting.
- Don't be afraid to get creative with fabric choices for upholstery to add a personal touch.
- Allow each layer of paint or primer to dry thoroughly before adding the next one to avoid smudges.
With just a few simple steps and some creativity, you can transform your old chair into a stylish piece that fits perfectly into your home decor. So, roll up your sleeves, gather your materials, and start revamping your furniture today!
